Pages

Wednesday, September 19, 2012

Just one of those days...

Don't worry, this isn't a downer post...it has just been one of those fabulous days. I am snuggled in my coziest red flannel moose pajama pants (I got them on a family trip to Alaska several years ago...how can you leave Alaska without a pair of red flannel moose pajamas?! I mean really people...) drinking an Angry Orchard Hard Apple Ginger Cider (major yum, I love hard cider in the fall!) feeling really content and happy, and I just felt like I had to share. In thinking about all of the things that I am thankful for today I was reminded of this video from YouTube:


Did you ever see this when it went viral? I seriously love it. I think it is partly the kindergarten teacher in me, but kids just make me smile.

And for those of you who are insanely jealous of said red flannel moose pajama pants, below is a little peek in case you want to begin the search for your own. I already washed my face (=no makeup) and despite the fabulousness of my pajamas I am not looking too cute, so you only get a leg view...


Goodnight friends! 


Tuesday, September 18, 2012

Wine and Cheese Please

Hi friends! It feels like forever since my last post even though its only been a few weeks. The first few weeks of school for a teacher, in kindergarten no less, are all consuming and exhausting. Two Fridays ago (the end of the first week of school) hubby went out with some friends for the evening (side note: they went to a new brewery in Richmond, Hardywood--have you been? Hubby loved it!), and I had no plans. Well, what's a girl to do on a lonesome Friday night? Prepare an indulgent meat and cheese "board" and open a good bottle of wine of course.


What a perfect end to a long and draining week. On my way home from school I first stopped at the library to get some good books (the perfect addition to a relaxing night on my own) and then I ran into the grocery store to get all the things I needed for my indulgent meal. I feel like I need to preface this with the fact that this was my whole dinner and there were possibly a few things left over?! Here is what I included:

  • Prosciutto 
  • Olives from the olive bar: mixed greek and blue cheese stuffed--my ultimate favorites are garlic stuffed and olives with red chilies (the dinky grocery store on my way home didn't have those kinds though...sad) P.S. I LOVE an olive bar. I mean LOVE. Sometimes that is my treat to myself at the grocery store--getting a tub of olives. It doesn't take much to amuse me. 
  • Warm french bread--I bought a mini loaf (perfect for one!) of the french bread you get in the bakery that is "pre-baked"--you have to put it in the oven for about 15 minutes to "bake" it. I like it because it gives you that warm fresh baked taste.
  • Dark chocolate bar with hazelnuts--any dark chocolate that has nuts or dried fruit in it would be delicious in my opinion
  • Baked brie with honey and pecans--Oh yummy! I LOVE brie!!! Just put your wheel of brie into an oven safe baking dish (I really want need a brie baker...hint hint, anyone?) and top with a drizzle of honey and some pecan chips. Bake at 400 degrees until the cheese starts looking ooey gooey (about 15 minutes). There are so many delicious options for baked brie so play around and find your favorite combination. 
Now, onto other important things...you must be wondering what's in my wine glass! That is Viognier from Pippin Hill Farm. Viognier is know as Virginia's signature wine and this wine by Pippin Hill Farm lived up to its title. I discovered this fresh, fruity, crisp wine on a wine tasting trip with my mom back in June (thanks for buying me a bottle, mom!). Every few months we like to do a little "girls" trip and this last trip was to Charlottesville, VA where we did wine tasting at Pippin Hill, and then went to The Boar's Head Inn for spa treatments and an overnight stay complete with a lovely dinner. Here are some pictures from our trip to Pippin Hill:


After our wine tasting we had lunch on the patio overlooking the mountains. It was a perfect June day with cooler temperatures and bright sunshine. We had the cheese board and the charcuterie (I can never say that word correctly!)--ie. meat board. There were delicious homemade mustards, preserves, and spreads to accompany the meats and cheeses, and it all came with some delicious crusty french bread. Oh yummy! We had the most amazing time at Pippin Hill and I insist that you go give it a try. The atmosphere, food, wine, view, and service was all top notch. I can't wait to go back.

You can see all of my other wine and cheese ideas on my Wine and Cheese Please Pinterest board here. There are lots of yummy and fun ideas on there.

Well, I have gone off on a tangent as I usually do, so I will leave you with one last thought...

"There comes a time in the day that no matter what the question...the answer is wine."


Tuesday, September 4, 2012

Happy Fall Ya'll

Happy first day of Fall! Yes, I know that technically the first day of Fall is not for a few weeks, but in my world (the only one that matters...haha, just kidding) it starts today. You see today was also the first day of school. So, for me the beginning of September and the start of school is all I really need to consider it Fall. I have had my fall Scentsy scents warming for a few weeks now, and I am just itching to get my decorations out. I think that is on the schedule for next weekend!

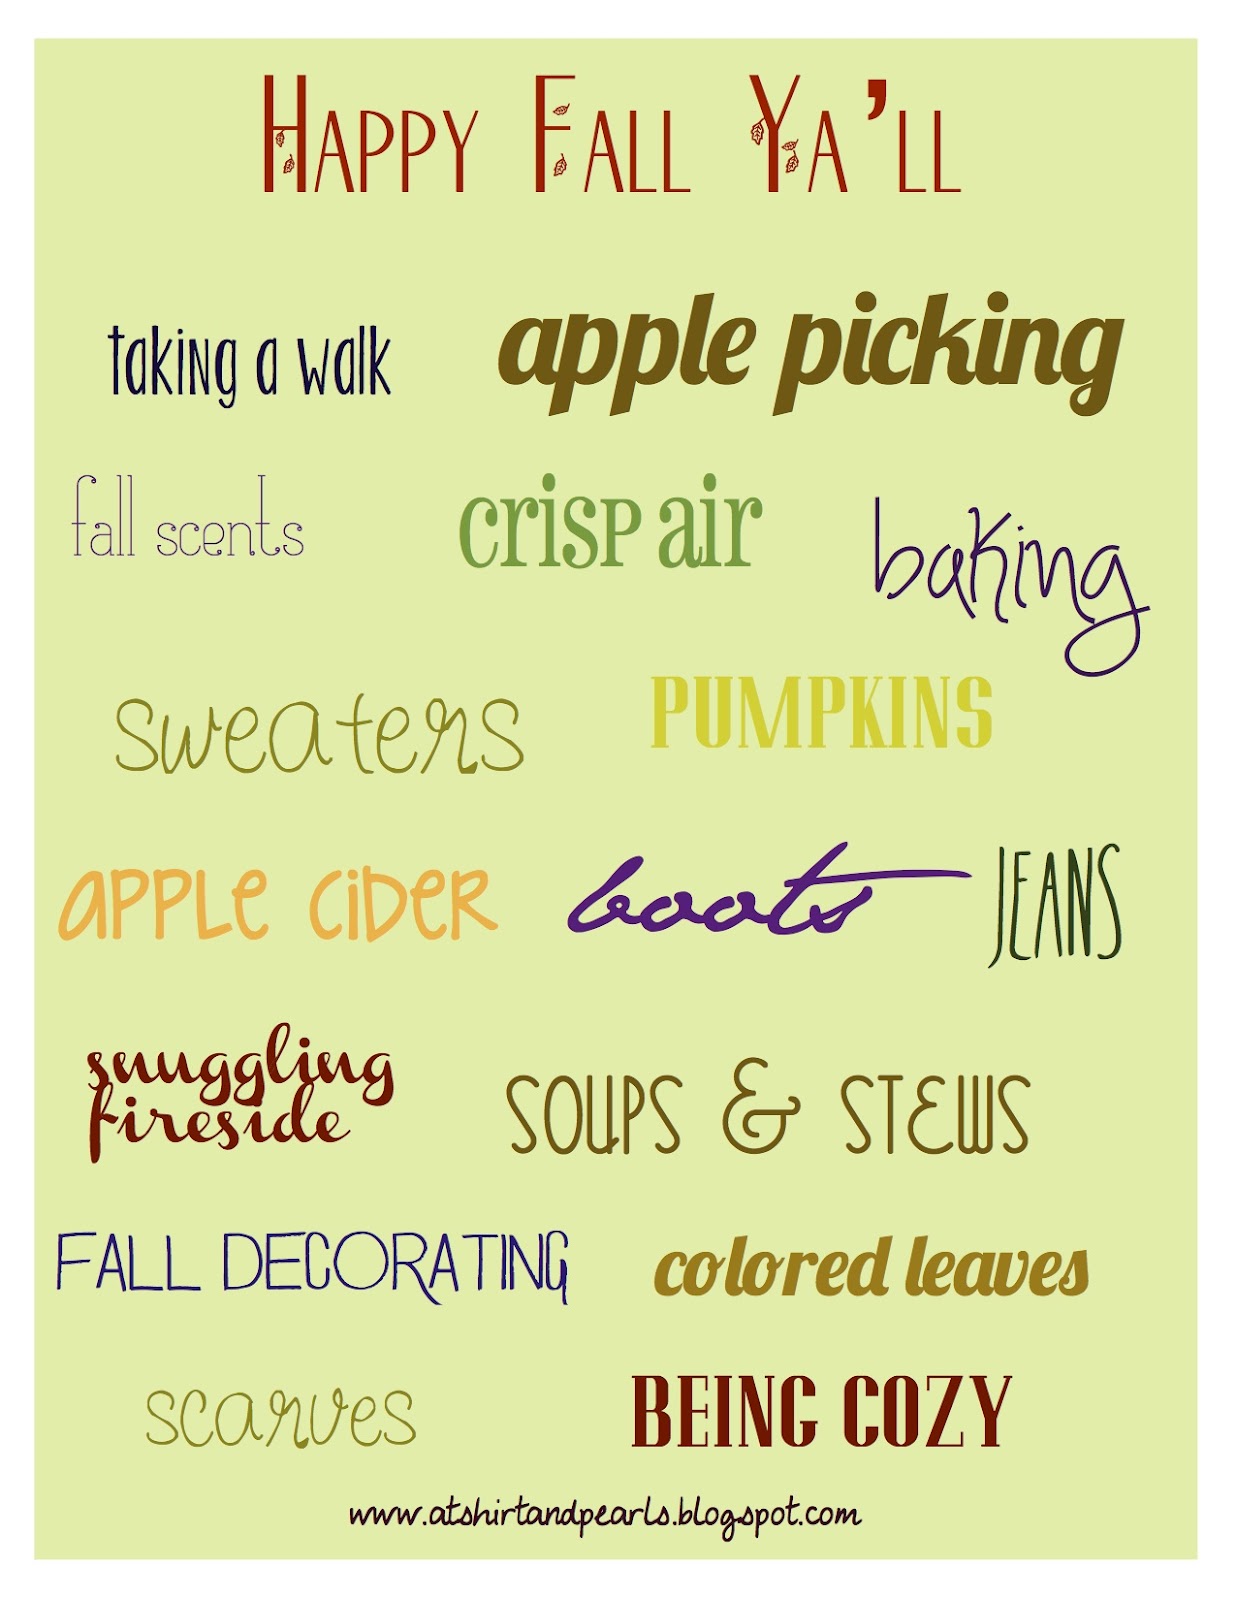
If you follow my blog or follow me on Facebook or Twitter, you may have caught on to the fact that I am slightly obsessed with Fall, I mean I only mention it 542 times. You might be wondering what I think is so fabulous about this season. Well, I have made my first attempt at one of those cute little posters you see floating around Pinterest to share with you some of things I love about the Fall.


What is your favorite thing about Fall? I know for tons of people it is the return of the Pumpkin Spice Latte to Starbucks. Embarrassing confession: I don't think I have ever had a PSL and if I have I don't remember it. There I said it. I feel like I am cheating on Fall by saying that. Don't worry, drinking a PSL is on the top of my Fall to do list this season. I have however, already had my first Pumpkin Cream Cheese Muffin from Starbucks, which you must try if you have not already...it is one of my Fall must haves. Make sure to check out my FALL in love Pinterest board for more Fall cooking and decorating ideas, as well as some fab printables I have come across!

Sunday, September 2, 2012

Butterfinger Blondies

In case you haven't caught on...I love to eat. Anything and everything. Really, there are not many things I don't like. I would like to grow up to be a foodie. I would like to plan a vacation around visiting amazing places to eat. I especially love sweets, and that's where Butterfinger Blondies come in. 

Butterfingers are hubby's favorite candy, and on one of our random occasions {when we had the urge to bake up something fattening and delicious} we decided to incorporate Butterfingers.These were super dangerously simple to make.

I started with a recipe for basic blondies that I got from Food Network and then I mixed in some crushed up Butterfingers and added more crushed Butterfingers on top before baking. That's it. 

Here is the blondie recipe from Food Network with a few of my changes:


  • 1 1/2 cups firmly packed light brown sugar
  • 1 cup unsalted butter
  • 2 1/4 cups all-purpose flour
  • 3/4 teaspoon baking soda
  • 1/4 teaspoon fine salt 
  • 2 large eggs
  • 1 teaspoon vanilla extract
  • 2 six packs of fun size Butterfingers crushed into small pieces (I just used my hands to break them apart since they are so crumbly)
  • 2 full size Butterfinger bars crushed into small pieces
Preheat the oven to 375 degrees. Butter and flour a 9 by 13-inch glass baking dish.
Put the sugar in a large bowl. Melt the butter in the microwave. Stir the butter into the sugar until smooth, cool to room temperature.
Meanwhile, in another medium bowl, whisk the flour, baking soda, and salt together.
Beat the eggs and vanilla into the sugar mixture. Add the flour mixture a bit at a time and mix until a smooth thick batter forms. Mix in the 12 mini crushed Butterfingers.
Spoon the batter in to the prepared dish and spread evenly. Sprinkle the two full size crumbled Butterfingers on top of the blondies. Bake until the blondies are light brown around the edges and a toothpick inserted in the center comes out clean, about 20 to 25 minutes.
Remove from the oven and let cool. Cut into squares and try not to eat the entire pan in one sitting. 

I would love to try these blondies with other mix-ins. What do you think would be good in this batter?
P.S. Please pardon my high-tech point and shoot photos. One day I'll tackle "real" photography, but until then my plate is full....with Butterfinger Blondies that is. ;)

Wednesday, August 29, 2012

In A Pickle

The hubby and I like to watch Food Network, but it never fails to get us in trouble. I mean, how can you watch total deliciousness being made in front of you and not want to eat massive amounts of unhealthy foods?  I guess if you have a little something called willpower you can resist, but here in this house there is sometimes a shortage of that. Last week we were watching The Best Thing I Ever Ate: Finger Food and one of the segments included fried pickles from The Blue Ridge Grill in Atlanta, GA. I already had pickles on the brain since I was getting ready for my first adventure in pickling and canning by making homemade dill pickles the next day, and seeing these yum-o fried pickles being made put me in even more of a pickle mood. Fast forward a few days (homemade pickles are made and set aside for their 2 weeks of fermenting--is it just me or does that word make them sound totally gross? I prefer not to think of my food fermenting...) and I was still thinking about those fried pickles. Well, it was another rainy cozy day which always puts me in the mood to cook or bake something delish. Cue, fried pickles. I had everything on hand including a jar of Vlassic dill pickle chips. The one thing I took away from The Best Thing I Ever Ate: Finger Foods was that the chef at The Blue Ridge Grill used cornmeal in his batter. From there I dug around in my pantry and pulled out some additional things to whip up a batter. Here is my recipe:

Fried Pickles

Dry Batter:
1/2 cup all purpose flour
1/2 cup cornmeal (I had white on hand but I am sure yellow would work just fine too)
1 tablespoon of cornstarch (this makes the batter super nice and crispy!)
Freshly ground black pepper, to taste
Cayenne pepper, to taste

Wet Batter:
1 cup milk
1 egg
A few dashes of hot sauce, to taste

*Note: We made a small serving of fried pickles, so we had a fair amount of batter left over. Next time I  make them for just us (hubby is still deciding how he feels about pickles so he barely ate any anyway) I would half the dry batter recipe. You can't really half the wet batter unless you want to mess with trying to separate out half of an egg...? I didn't think so. If you are making pickles for a crowd the full recipe should do.

Drain your pickle chips in a strainer (you will still want them wet--don't pat them dry or anything--but let the excess drip off into the sink). Coat the bottom of a dutch oven or deep skillet with vegetable oil. It does not need to be deep enough to cover the whole pickle, just enough to cover the bottom of the pan and one side of the pickle. Heat oil over medium heat. While oil is heating, mix up dry ingredients in one bowl and wet ingredients in another bowl. Once your oil is hot and lightly bubbling and popping you are ready to fry. {We did a single pickle first to taste test our batter seasoning. After our "test pickle" we went back and spiced things up with more cayenne and hot sauce.} Dredge your drained pickle chips into the dry batter first. Shake excess off and then dredge them in the wet batter. Dredge them once more in the dry batter and then carefully put them into the hot oil. Let them fry until golden brown and then using tongs flip them to the other side to fry. It only takes a minute or so for them to get brown so keep a close eye on them! Remove fried pickles from the oil and place onto a paper towel lined plate to drain. Serve immediately with a side of ranch dressing. I used store bought light ranch dressing (I had to save calories somewhere you know) although these would be 10 times more delicious with homemade ranch. I wasn't up to that for a random afternoon snack made from items in my pantry, but I would definitely step it up and make homemade dressing if I was serving these for guests. So, who wants to come over and be my reason for homemade ranch dressing?

Dry and Wet Batter
"Test" Pickle 

Yummy Fried Pickles!


Pickles and Ranch
Enjoy!

Saturday, August 25, 2012

Low Fat Oatmeal Banana Nut Bread

Every once in awhile I get a taste for a banana. They are not my favorite fruit, but I like them. I like my bananas almost a little green and they turn so quickly that many times I can't eat them all before they get too ripe, so I only buy a few at a time. Translation: I am that person at the grocery store who pulls 2 or 3 bananas off of a bunch and leaves the rest behind. Sorry.

I recently learned a trick from my Aunt Kathy to help bananas keep a little longer. The trick is to break the bananas apart when you get them home and then use a sharp knife to cut off the very tip of the stem. This did seem to work and kept them fresher a little longer. But, this last time around I still got stuck with 2 very brown bananas (I got a little overzealous at the grocery store and bought 4 at once?!) that were about to be sentenced to the trash can. Lucky for them I had the idea to bake up a banana bread instead. On the day I decided to do this it was unusually cool outside and it was a dreary rainy day. In other words, it was a perfect day to be snuggled inside in my comfies baking. Between the weather and the smell of freshly baking banana bread I could almost close my eyes and pretend it was fall. It was fabulous!

As I thought about baking my bread I decided that I wanted to change things up by adding oatmeal to my recipe. I searched the internet for different oatmeal banana bread recipes and I found one for Low Fat Oatmeal Banana Bread from Joy the Baker that looked pretty tasty. I made a few changes and additions of my own to come up with my recipe.

Before you read on I will warn you that this bread is not like your traditional sugary fluffy banana bread. This is like power banana bread. It is dense, like seriously dense. It makes a delicious and really filling breakfast, especially if you toast it and put some peanut or almond butter on top. While it is still not the healthiest option, the protein from the oats and nuts along with the low fat content make this bread a pretty decent choice, especially compared to traditional recipes. You could clean it up even more by using a whole wheat flour and a natural sugar substitute such as Truvia or Agave Nectar (taking away the brown sugar will change the flavor).  


Low Fat Oatmeal Banana Nut Bread

1 1/4 c. flour
1 c. uncooked old fashioned oats
1/2 c. packed brown sugar
1/4 tsp salt
1/2 tsp baking soda
1/4 tsp baking powder
1/2 tsp cinnamon
3 tsp canola oil
1 whole egg
2 egg whites
2 very ripe bananas, peeled
1/2 c. toasted walnuts
1tsp vanilla

Preheat the oven to 350. Heat a small skillet over medium low heat and toast walnut halves until lightly browned, set aside to cool. Butter and flour a loaf pan and set aside.

In a large bowl stir together all of the dry ingredients.

In another bowl mash the bananas with a fork, add the oil and whole egg and stir to combine.

Add the wet ingredients into the dry ingredients and mix well. Take the cooled nuts and use a knife to give them a rough chop (I kept mine pretty chunky but its up to you). Incorporate the chopped nuts into the batter. It will be very thick and it won't look like a lot of batter.

Set the batter aside and in a separate bowl use an electric hand mixer to beat egg whites into medium stiff peaks. Fold the egg whites into the batter in three additions.

Pour batter into prepared pan and bake at 350 for 35 minutes or until golden brown and firm on top. *I used the convection setting on my oven which I find often cooks things more quickly. You may need to bake your bread up to 45 minutes. Keep a close eye on it and test for doneness by inserting a toothpick  super cool cake tester.


Isn't it the cutest thing?! I registered for it from Crate & Barrel when we got married. I remember getting teased about it at my bridal shower when I unwrapped it along with some other goodies, but what can I say? It doesn't take much to amuse me and I seriously loved this cute little guy.

Speaking of cute kitchen gadgets I also have a brown sugar bear. I got him randomly from Plow & Hearth. I went in to the store with a friend and there he was. The purpose of the brown sugar bear is to keep your brown sugar from crystalizing into a hard rock. I wasn't too sure about it, but let me tell you, it works great!! It seems to be made from some kind of clay? To use it you soak it in a glass of water for about 10 minutes. Then I pat the excess water off and stick him down into my bag of brown sugar. The bear keeps the sugar for months before you need to remoisten it. I looked for the bear on the Plow & Hearth website and couldn't find it. :( I am not sure if they no longer carry it, or if it is a store by store kind of thing. Anyone know where else you can find a brown sugar bear? It has become one of my kitchen must haves!

Happy Baking!

Wednesday, August 22, 2012

A Giveaway, A Bloggy Friend, and Fabulous Earrings

Hi Friends! Today I am excited to introduce you to my friend Darby at Life With The Hawleys. Darby and I were sorority sisters in college (yay Delta Zeta!) and in recent months she has become my blog mentor. I have followed along with Darby's blog via her Facebook page, so when I first got the idea to start up my own blog Darby popped into my mind right away. I emailed her that night asking for advice on starting up my own blog. I had questions about who I would write to, what I would write about, and how I would do the technical part of creating a cute (very important to me!) blog. Darby has been gracious, helpful, and encouraging from the beginning, and I am so thankful I have had her to help me along the way.

Starting today Darby is having an awesome giveaway on her blog for a beautiful pair of Grace Adele earrings. Click here to visit Life With The Hawleys and view the details for entering her giveaway. You will definitely want a chance to win these fun, fancy, and stylish earrings! I love how they can transfer seamlessly from day to night. While you're on her page make sure you stay awhile, check things out, and sign up to follow along in her adventures!

**Giveaway Closed**